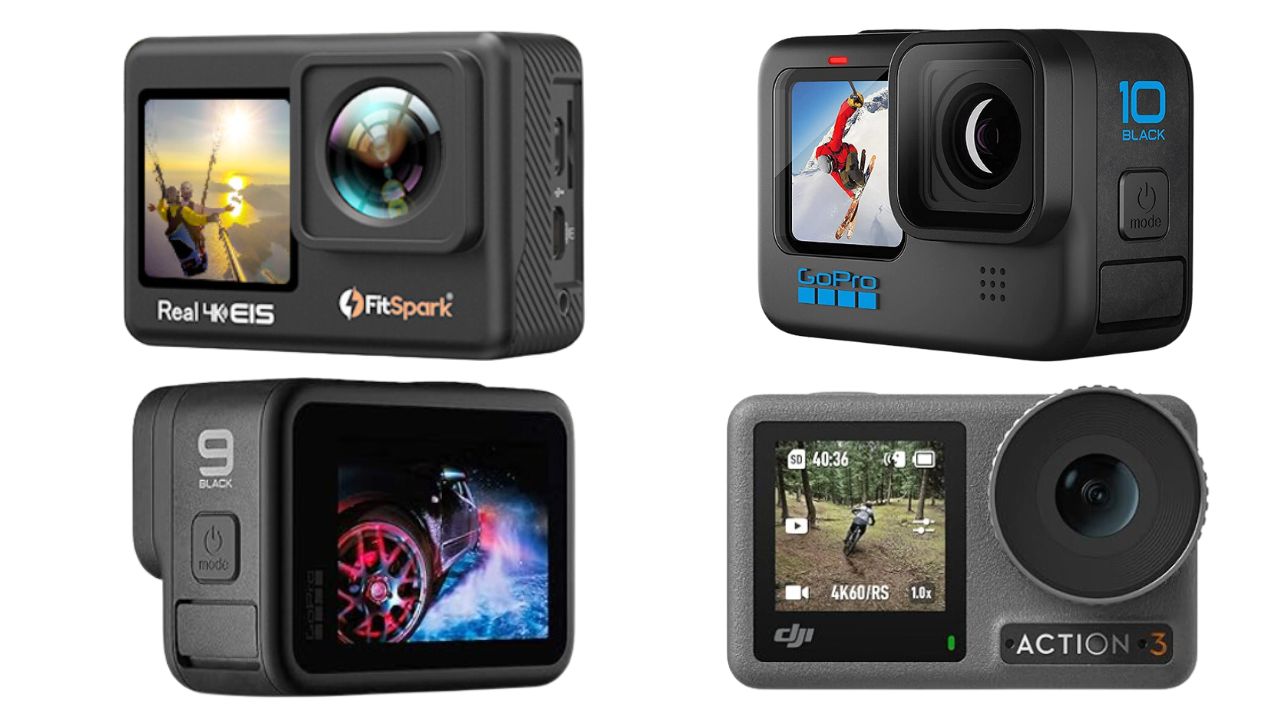
सबसे सस्ता कैमरा कौन सा है?
क्या आप सबसे सस्ते कैमरे की तलाश में हैं? लेकिन आपको हर तरफ से निराशा हाथ लग रही है तो बता दें कि अब आपको इस बारे में अधिक चिंता करने की जरूरत नहीं है। क्योकि प्रस्तुत लेख में हम आपको इस बारे में ही जानकारी देने जा रहे हैं।…
Vlogging और Photography के लिए कौन सा कैमरा सबसे अच्छा है?
Which Camera is best for vlogging and photography? क्या आप इस प्रश्न का जबाब ढूढ़ रहे हैं तो बता दें कि अब आपको इस बारे में अधिक चिंता करने की जरूरत नहीं है क्योकि हम आपके इसी प्रश्न का उत्तर देने जा रहे हैं। प्रस्तुत लेख में हम ऐसे 5…
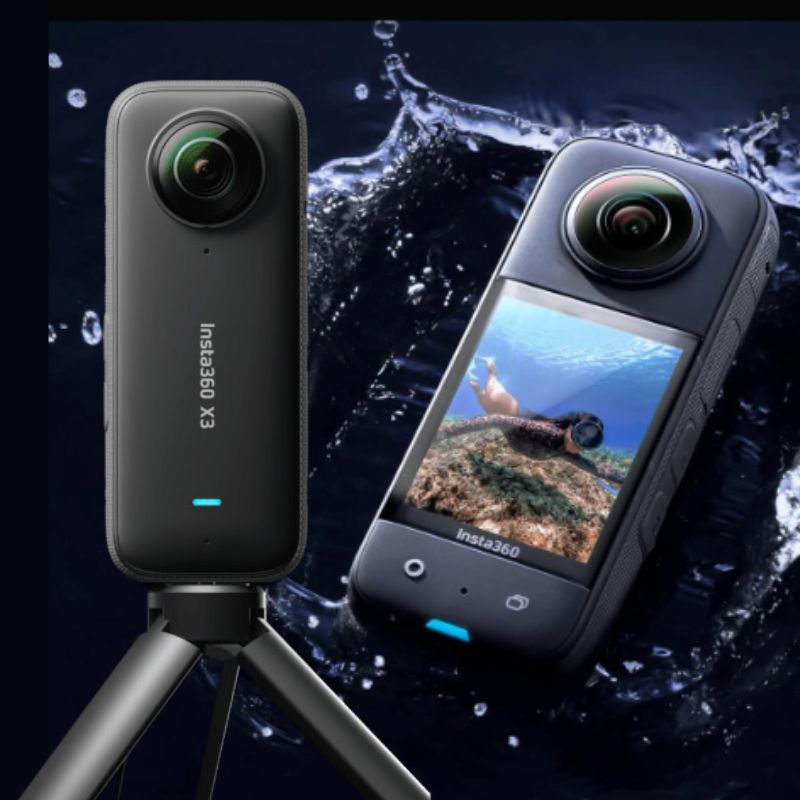
insta360 X3- Features, Battery Life, Stabilization, Picture Quality & More
insta360 X3 Vlog Videos शूट करने के लिए एक Best Camera है। यह एक Waterproof Action Camera है, जो 5.7k30fps Resolution तक के 360 degree High Dynamic Range वाले Videos रिकॉर्ड करता है। इस कारण से इसे आप Live Streaming, Webcam के लिए भी उपयोग में ले सकते हैं। प्रस्तुत…
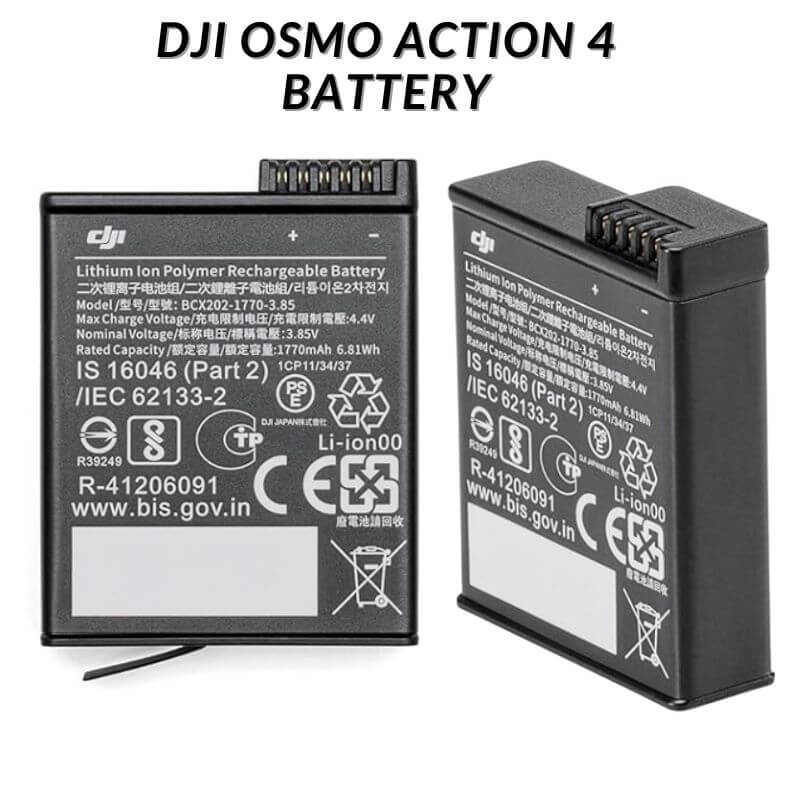
DJI Osmo Action 4 Battery- Features, Price, Compatibility & More
DJI Osmo Action 4 Battery आपके DJI 3 एवं 4 कैमरे के लिए Best विकल्प है। यह Lithium Ion से निर्मित है एवं 160 Minutes तक की battery life प्रदान करती है। इसके अलावा, इसकी rated क्षमता 1770 mAh है एवं यह पूरी तरह से Rechargeable है। प्रस्तुत लेख में…
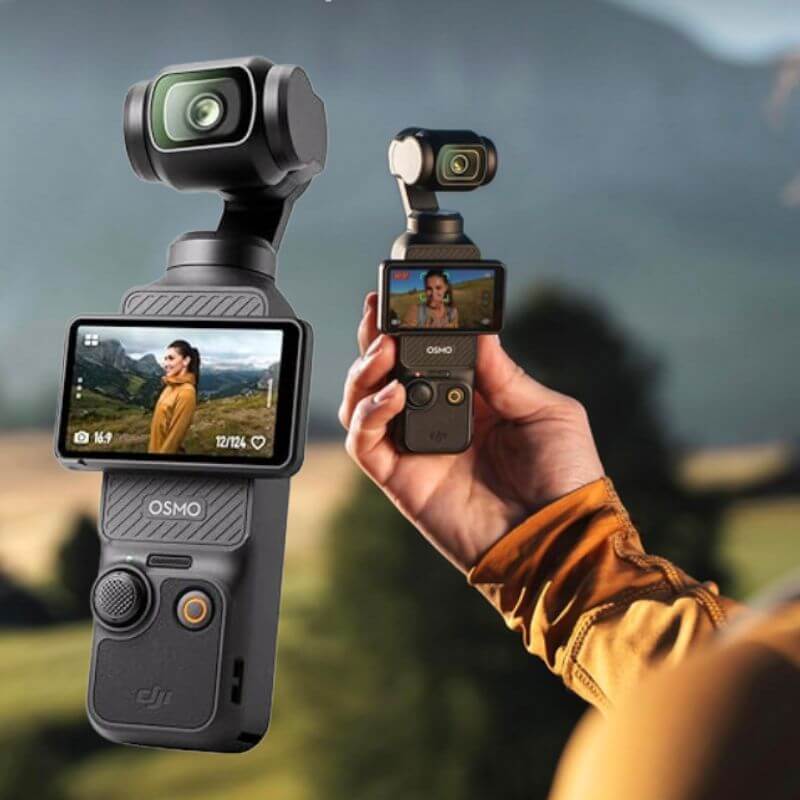
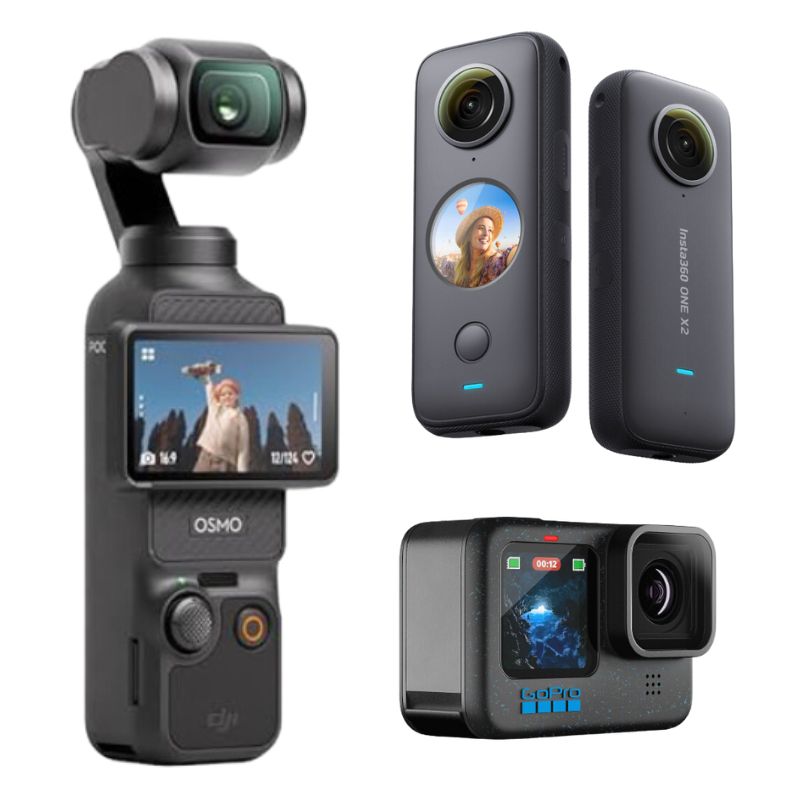
DJI Osmo Pocket 3 Camera – Features, Photos, Battery Life & More
DJI Osmo Pocket 3 Vlog Videos शूट करने के लिए एक Best Camera है। यह 2 inch की touch screen वाला एक action Camera है, जो 4K/120fps Resolution तक के Ultra HD Video रिकॉर्ड कर सकता है। इस कारण से इसे आप Live Streaming, Webcam के लिए उपयोग कर सकते…
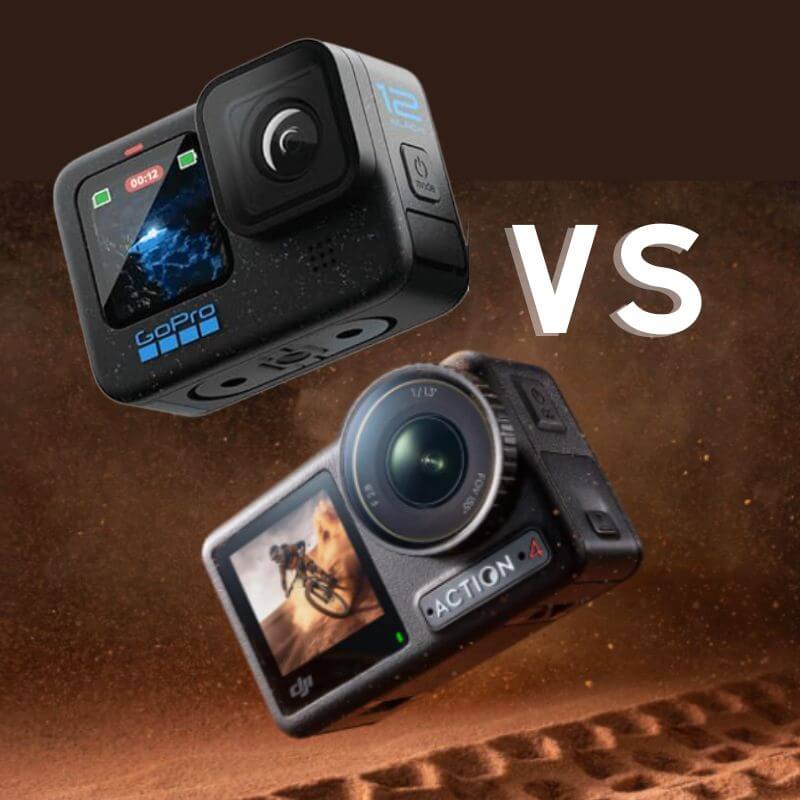
DJI Osmo Action 4 vs GoPro Hero 12 Camera- New Features, Photos, Battery Life & More
DJI Osmo Action 4 एवं GoPro Hero 12 दोनों ही कैमरा Vlog Videos shoot करने के लिए Best Camera हैं। इसके अलावा, दोनों action camera Waterproof भी हैं। लेकिन दोनों में कुछ असमानताएँ हैं जैसे कि GoPro Hero 12 में आप 5.3K Resolution में HD Video रिकॉर्ड कर सकते हैं।…
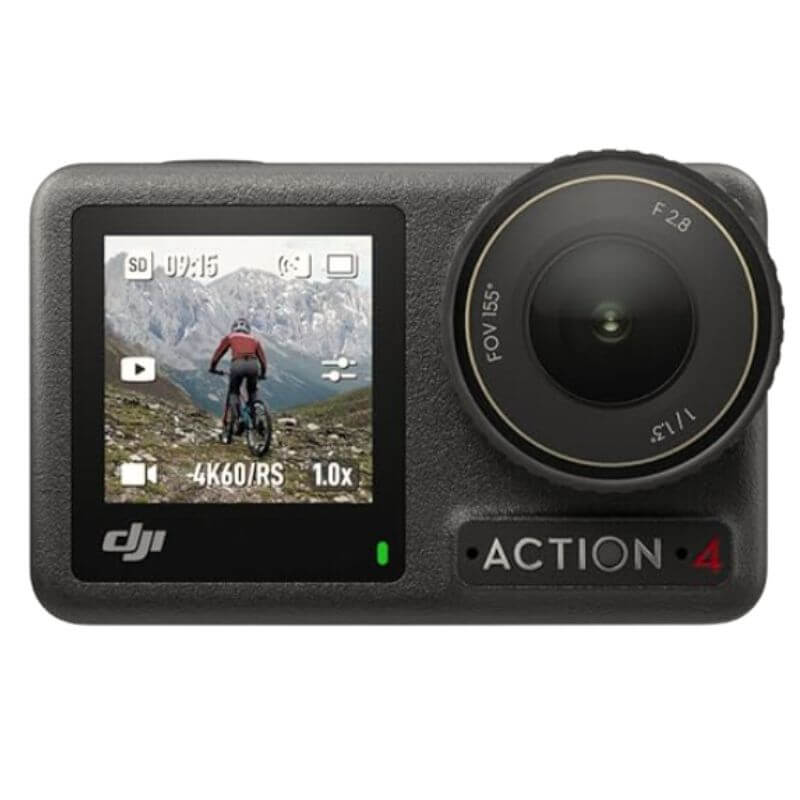
DJI Osmo Action 4 Camera – New Features, Photos, Battery Life & More
DJI Osmo Action 4 Vlog Videos शूट करने के लिए एक Best Camera है। यह एक Waterproof Action Camera है, जो 4K Resolution तक के Ultra HD Video रिकॉर्ड कर सकता है। इस कारण से इसे आप Live Streaming, Webcam के लिए उपयोग कर सकते हैं। इस DJI Osmo Action…
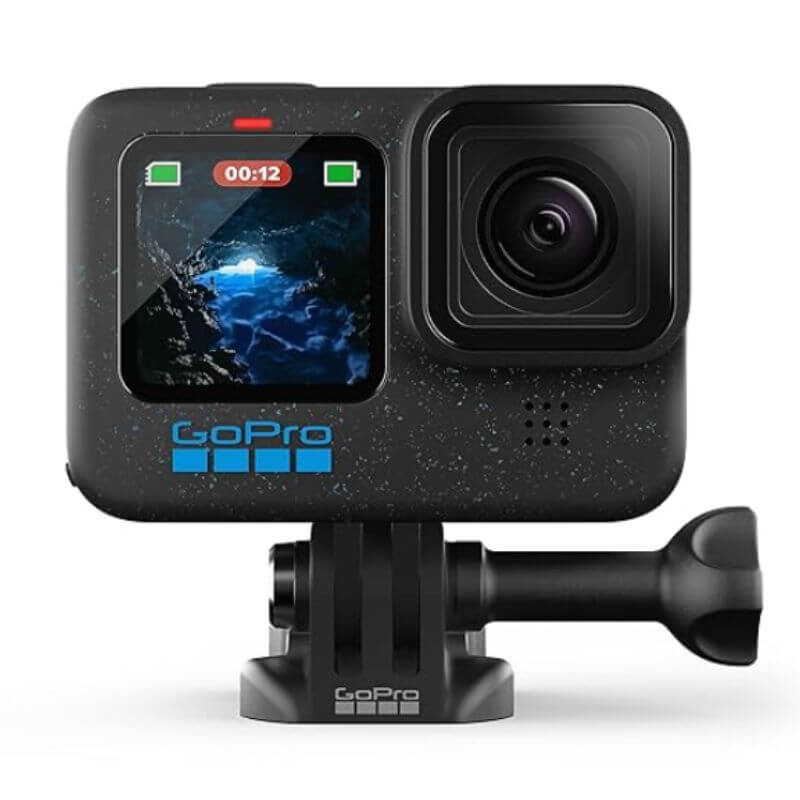
GoPro HERO12 Black – New Features, Photos, Advantages, Disadvantages & More
GoPro HERO12 Black Vlog Videos शूट करने के लिए Best Camera है। यह एक Waterproof Action Camera है, जो 5.3K60 तक के Ultra HD Video रिकॉर्ड कर सकता है। इस कारण से इसे आप Live Streaming, Webcam के लिए उपयोग कर सकते है। इस GoPro HERO12 Black के लेख में…
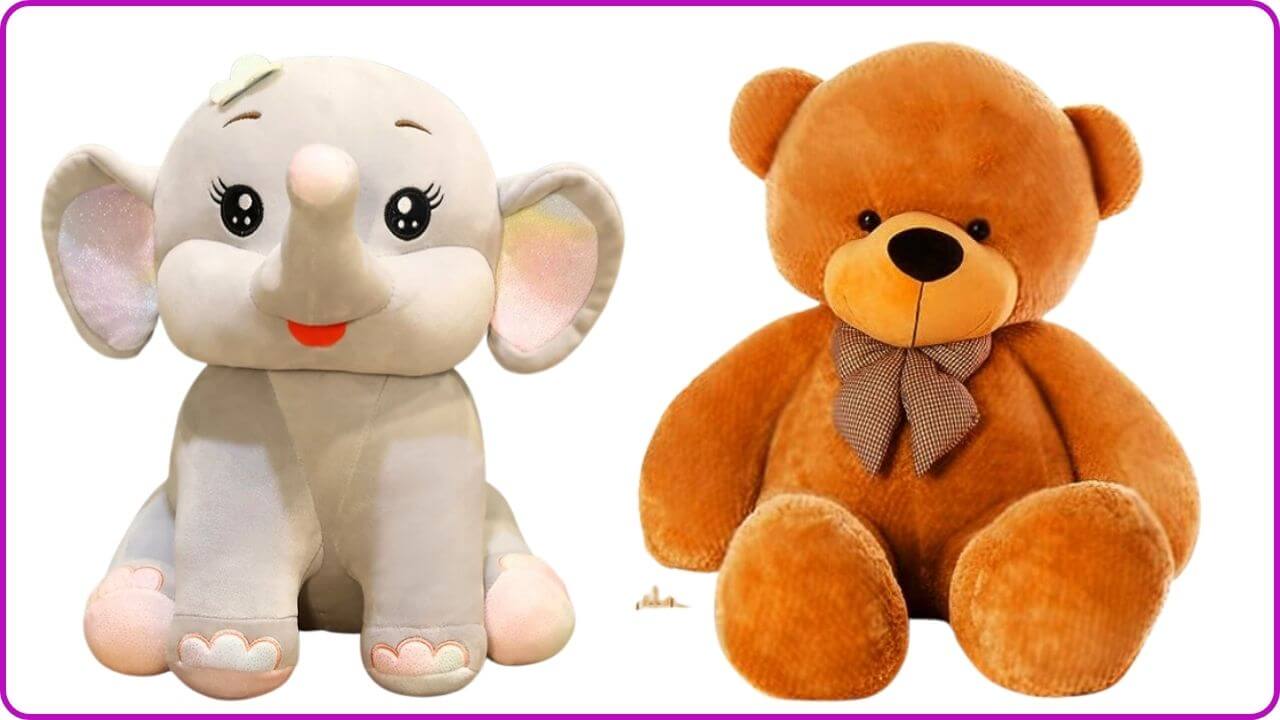
What Teddy Bears are worth money?
लोग ऐसे Teddy Bear की तलाश में रहते हैं जो पैसे के लायक हो अर्थात एक ऐसा Teddy Bear जिसे खरीदने पर उन्हें इस प्रकार का पछतावा न हो कि उनके पैसे व्यर्थ चले गए। लेकिन इस प्रकार के Teddy Bear ढूंढ पाना बहुत दुर्लभ होता है। तो आपको बता…
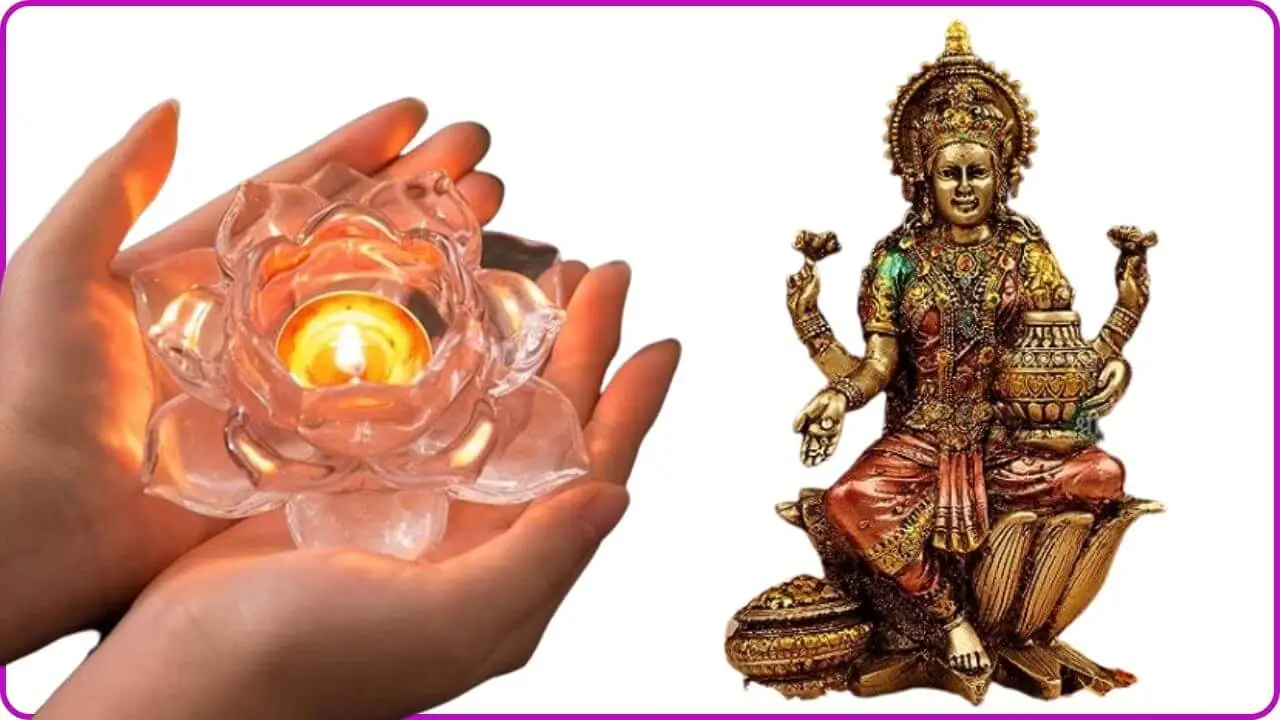
दिवाली पर क्या गिफ्ट दें
क्या आप दिवाली के दिन अपने परिजनों को गिफ्ट देने के बारे में सोच रहे हैं तो बता दें कि प्रस्तुत लेख में हम इसी बारे में जानकारी देने जा रहे हैं। लेख में हमने कई चीजों के बारे में बताया है जिन्हें आप एक गिफ्ट के रूप में दे सकते…